Ultimate Guide: Effortlessly Clean Baking Trays and Grill Grates – Say Goodbye to Burnt-On Grease!
Are you tired of scrubbing the same stubborn grease off your baking trays and grill grates without seeing any results? You’re not alone! Many home cooks and grilling enthusiasts face the daunting task of removing burnt-on grease. However, the good news is that cleaning these essential kitchen tools doesn't have to be a taxing chore. In this comprehensive guide, we’ll share proven techniques, tips, and tricks to effortlessly clean baking trays and grill grates, leaving them sparkling and ready for your next culinary masterpiece. Let's dive into the world of hassle-free cleaning and transform your kitchen experience!

Understanding the Challenge of Burnt-On Grease
Burnt-on grease can be one of the most stubborn types of kitchen residue to deal with. It often forms due to high heat and improper cleaning after use. If left unattended, it can create an unsightly and unsanitary cooking environment. As reported by Good Housekeeping, 70% of cooks do not realize that failing to clean these surfaces properly could lead to the transfer of unpleasant flavors to your food. But do not fret - we have various effective methods to tackle this issue head-on.
Why Cleaning Matters
Cleaning your baking trays and grill grates not only prolongs their lifespan but also ensures that your food remains tasty and healthy. According to a study by the University of Illinois, cooking on dirty surfaces can lead to food contamination and unpleasant smells. Therefore, keeping these items clean is essential for both your health and enjoyment when cooking.
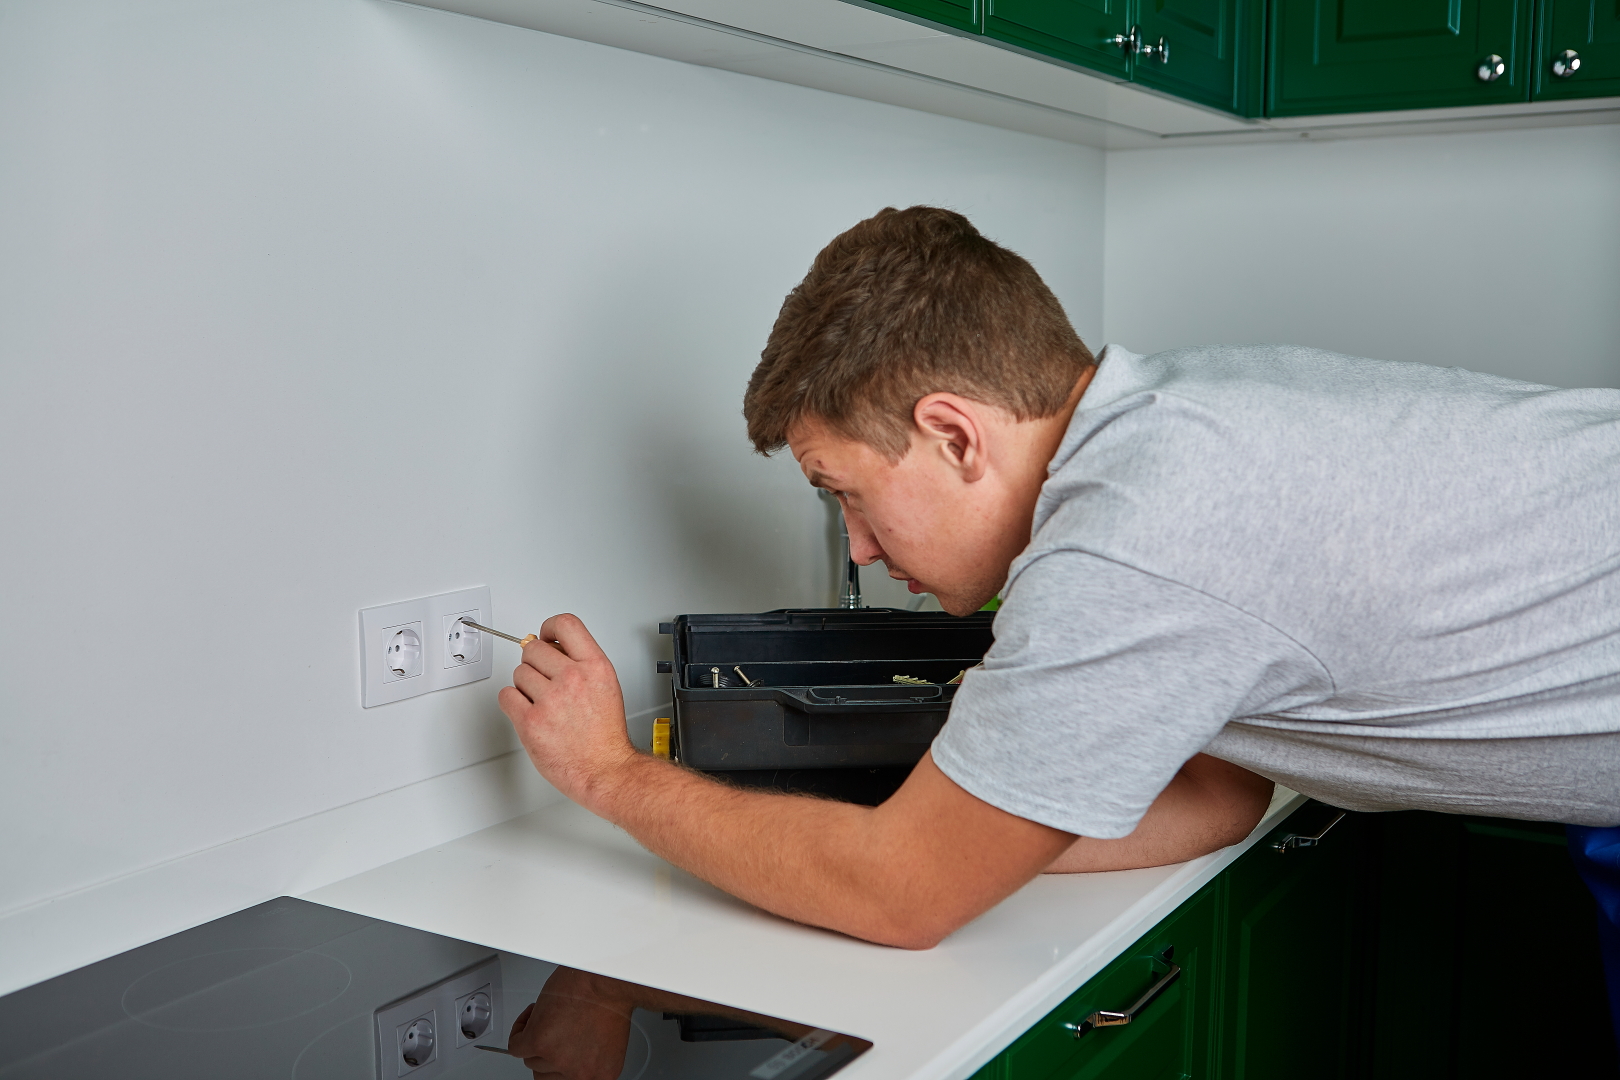
Essential Tools and Materials
Before diving into the cleaning process, it's essential to gather the necessary tools and materials to make the task easier:
- Dish soap (preferably biodegradable)
- Baking soda
- White vinegar
- Salt
- Scrubbing pads (non-abrasive)
- Old newspaper or paper towels
- Plastic or silicone spatula (for scraping)
- Bucket or large basin
- Rubber gloves (for protection)
Step-by-Step Guide to Clean Baking Trays
-
Soak the Tray: Start by soaking the baking tray in hot, soapy water for at least 30 minutes. This will help loosen any stuck-on food particles.
-
Create a Baking Soda Paste: Mix three parts baking soda with one part water to create a thick paste. For added cleaning power, you can also add a little vinegar to the mixture. This concoction acts as a natural abrasive cleaner.
-
Apply the Paste: Spread the baking soda paste over any burnt-on areas using your spatula. Allow it to sit for an additional 15-30 minutes.
-
Scrub Away: After the paste has set, use your non-abrasive scrubbing pad to clean the tray. Apply slight pressure and use circular motions to lift the residue.
-
Rinse Thoroughly: Rinse the baking tray with warm water until all residue is gone. Dry it with a paper towel or cloth.
-
Final Touch: For a shiny finish, you can rub a little vegetable oil over the surface. This step not only enhances the appearance but also helps create a natural non-stick layer for future use.
Cleaning Grill Grates Like a Pro
Now, let’s move on to those grill grates that are prone to getting dirty after every barbecue session. Remember, clean grates not only improve the flavor of your food but also help maintain the grill’s efficiency.
-
Pre-heat the Grill: Start by firing up your grill. Pre-heating it for 10-15 minutes will help loosen any residual grease or food particles.
-
Use a Wire Brush: Once heated, use a wire grill brush to scrape the grates down while they are still hot. Focus on removing large debris.
-
Create a Vinegar Solution: In a spray bottle, mix equal parts of white vinegar and water to create a natural disinfectant. Spray this solution over the grates to help break down any tough grease.
-
Scrub Again: Take your wire brush or a scouring pad and scrub the grates once more. Give it a few minutes for the vinegar to penetrate stubborn grime.
-
Rinse and Dry: After scrubbing, dampen a paper towel with a little oil and wipe down the grates to condition them. This will help prevent rust and can create a non-stick surface for future grilling.
Frequently Asked Questions (FAQs) About Cleaning Baking Trays and Grill Grates
Q1: How often should I clean my baking trays and grill grates?
A1: It’s advisable to clean your baking trays after every use and grill grates at least once a month, or more often if you grill frequently. This prevents the build-up of grease, making cleaning easier in the long run.
Q2: Can I use harsh chemicals for cleaning?
A2: It is generally not recommended to use harsh chemicals on baking trays and grill grates, as they can leak into food during cooking and damage the surfaces. Optimal cleaning can be achieved with natural ingredients like vinegar, baking soda, and salt.
Q3: What is the best way to remove stubborn burnt residues?
A3: For tough residues, letting the baking trays soak in hot, soapy water mixed with baking soda before scrubbing is effective. For grill grates, the combination of heat and vinegar solution works wonders.
Q4: Are there any tips for preventing burnt-on grease?
A4: Yes! Lining trays with parchment paper and ensuring to oil grill grates before cooking can minimize grease build-up. Quick cleaning after each use will also help maintain cleanliness and reduce effort for the next use.
Importance of Maintenance
Regular maintenance of your baking trays and grill grates can enhance their durability and performance. Remember, you invest in good tools – treating them well is an investment that pays off in the long run.
The total average cost of replacing bakeware and grills over a year can run into hundreds of dollars. Expert advice states that regular cleaning can reduce this cost by up to 30%. Additionally, well-maintained cookware ensures consistent results in your culinary adventures.
Final Thoughts: Make Cleaning a Breeze
Cleaning baking trays and grill grates might seem like an unwanted chore, but with the right techniques and mindset, it can be quick and efficient. By investing just a little time and utilizing natural cleaning methods, you can keep your kitchen essentials in top shape, ensuring they serve you well for years to come.
With this ultimate guide in hand, you’re now ready to tackle even the toughest grease and grime. Say goodbye to excuses and hello to effortlessly clean baking trays and grill grates. Start making your kitchen sparkle today! Remember, a clean kitchen is a happy kitchen!
Call to Action
If you found this article helpful, please share it with your friends and family to help them conquer their challenges with burnt-on grease, too! Let's create a community of clean and happy kitchens together! Perhaps you'd like to explore our other cleaning tips and tricks for a more organized and efficient kitchen environment.